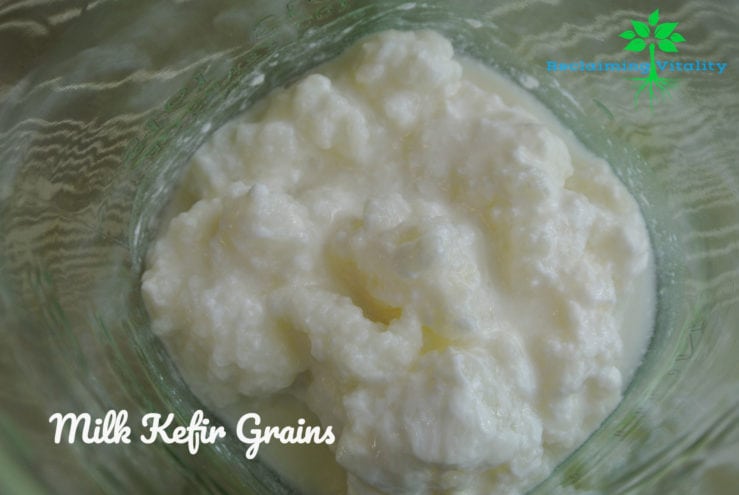
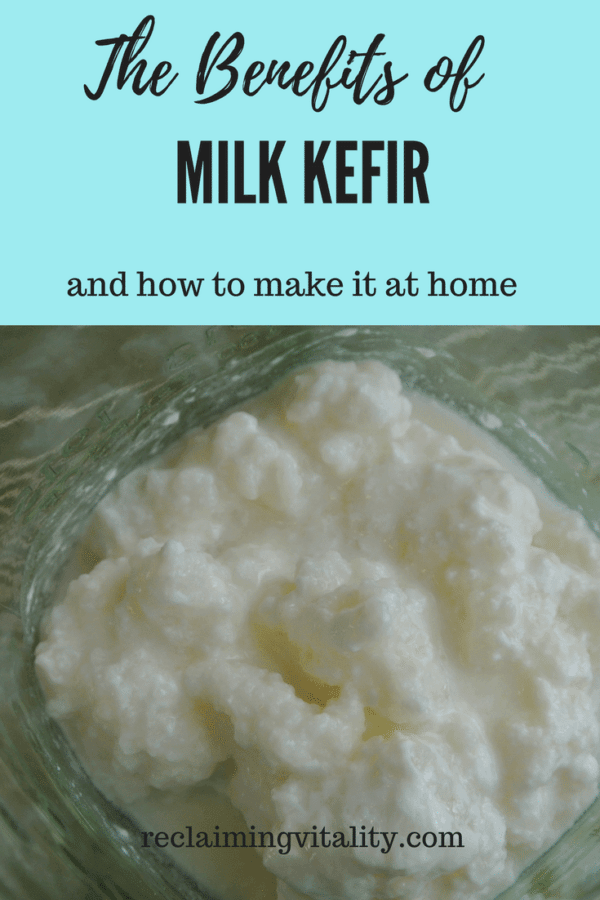
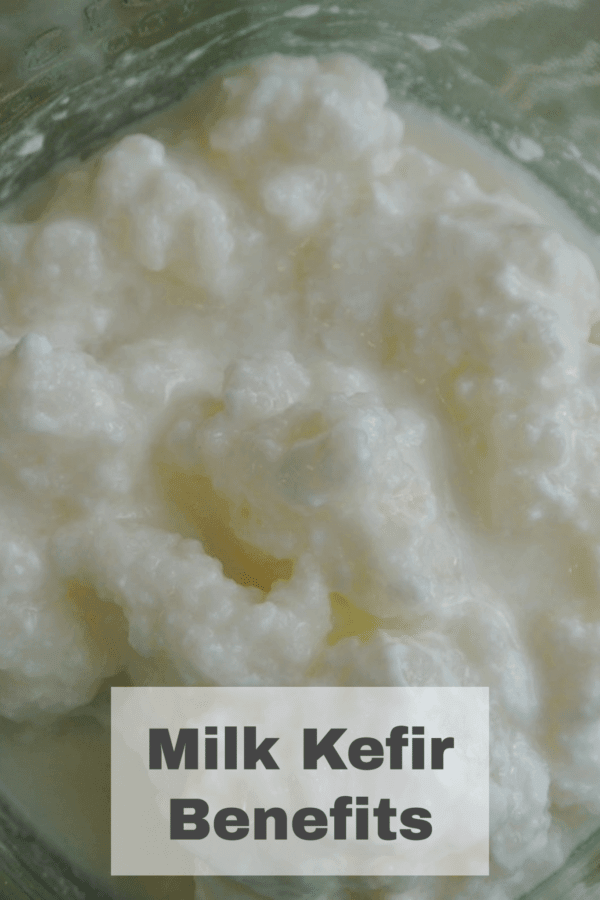
Milk kefir is a staple in our household. It actually has more probiotics than yogurt (even homemade yogurt). It contains beneficial enzymes and yeasts that help with digestion and immunity. Milk kefir is full of healthy fats and bio-available nutrients that your body needs! It has antibacterial properties, can improve bone health, and even lessen allergy symptoms!
I prep a milk kefir “shake”, as my kids call it, before my they wake up in the morning. They drink it while I make our breakfast. I use kefir, some frozen fruit, and a little bit of organic maple syrup and blend it up in the Vitamix. When making my kefir I use whole, raw, grass-fed milk.
Why whole, raw, grass-fed milk for making kefir?
Raw milk is not pasteurized and it is not homogenized. This makes it so much healthier for you than that crap that fills those plastic jugs at the store.
- Pasteurizing reduces vitamins as well as kills off beneficial enzymes that your body needs to help digest the milk! Many people who believe they are lactose intolerant have no trouble digesting milk once they switch to raw dairy.
- When milk is homogenized, the fat particles are spun around very quickly until they become very small. They become something unrecognizable to your body. It is a similar problem to those of trans-fats, also known as hydrogenated fats. We have all heard by now about the dangers of hydrogenated fats, although they are still hidden in many processed and prepared foods. If you don’t have a choice to buy raw milk in your area, at least choose an organic, non-homogenized version.
- When a cow eats the food it was meant to eat (grass), you get all the health benefits of the grass without having to eat the grass yourself. A win in my book! When cows eat grain or corn, especially non-organic grain or corn that is GMO and heavily sprayed, you get the drawbacks, of that diet. We could also mention that the quality of life of a grass-fed dairy cow is much preferable to that of a poor, conventional dairy cow. Go here for a great article from Dr. Axe on the benefits of raw dairy.
How to make milk kefir:
Milk kefir is quite simple to make. You need only 3 ingredients: milk, kefir grains, and time.
- Add about 4 tablespoons (1/4 cup) of kefir grains to a quart of fresh milk.
- Cover your jar with a non-metal covering, and leave it out on your counter. I use plastic lids, but some people cover jars with cloth and a rubber band.
- The kefir will take anywhere from 12-48 hours to ferment. The time varies on the strength and quantity of your grains, the temperature of the room in which it is fermenting, and your personal taste as well. The longer you let kefir ferment, the more of the lactose, or milk sugar, it will ferment. This determines how sour or not your kefir is. A long ferment means virtually no milk sugar left and a more sour tasting drink. I usually ferment mine for 24-36 hours, and it actually just depends on how busy I am. Your kefir grains are a living food, and will need to be fed regularly.
- Once you have your completed milk kefir, remove the grains from the jar, put them into a new jar, and feed them. (You can use a silicon or stainless steel colander to do this, but I actually use my very CLEAN hands to separate the grains from the kefir and put them into a new jar for the next batch.) After you take out your grains you will have slightly less than a quart.
Make a yummy milk kefir “shake” or smoothie:
Once you have your completed milk kefir, what should you do with it? Remove the grains from the jar, put into a new jar and feed them. (I use a silicon colander to do this and actually use my very CLEAN hands to separate the grains from the kefir and put them into a new jar for the next batch.) After you take out your grains you will have slightly less than a quart. At our house, as I said above, I put the kefir in my Vitamix along with about a cup of frozen fruit, add maple syrup to taste, and give it a whirl. We have some in the morning with our breakfast and some in the evening after dinner to sweep the colon with beneficial bacteria. We love our kefir!!
Also, you can make kefir cheese, salad dressing with kefir, and much more. Go here for tons of recipes using milk kefir. This site also has recipes for many other types of ferments. She has a great cookbook, too!
Notes: Kefir grains grow and multiply when they are happy. Try to keep your 4 tablespoons (1/4 cup) grains to 1 quart milk ratio by pulling out extra grains when you notice there are more than before. Give your extras to family, friends, neighbors, coworkers, etc. Spread the healthy healing love!
What if I go on vacation or do an elimination diet and don’t want milk kefir for a bit?
If you need to take a break from your by now beloved milk kefir, you should feed you grains and put them in the fridge. When you return from vacation, or resume your need for kefir, take out the grains and feed them again. You may need to feed them a couple of times before they are back to their usual vigor and making drinkable kefir.
Do you drink kefir? Do you make your own? Are you going to try making kefir? Let me know how it goes!

