
Post updated 10/31/19 with natural preservative information!
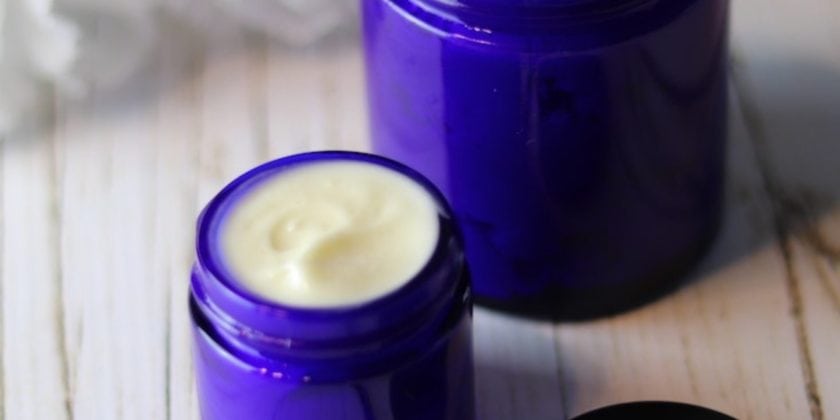
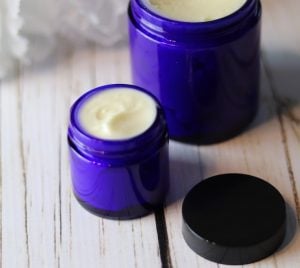
Making your own homemade nourishing face cream is much easier than you think! If you have ever made homemade mayonnaise, you can make face cream. It is well worth the small amount of effort in both cases. In the case of face cream, you can choose the highest quality carrier oils that are perfect for your skin as well as the perfect essential oil blend. By making your own homemade face cream, you will skip the questionable ingredients contained in high-end (and of course low-end) store-bought creams. Your face cream will be tailored to your skin, and it will cost a fraction what a store-bought cream costs.
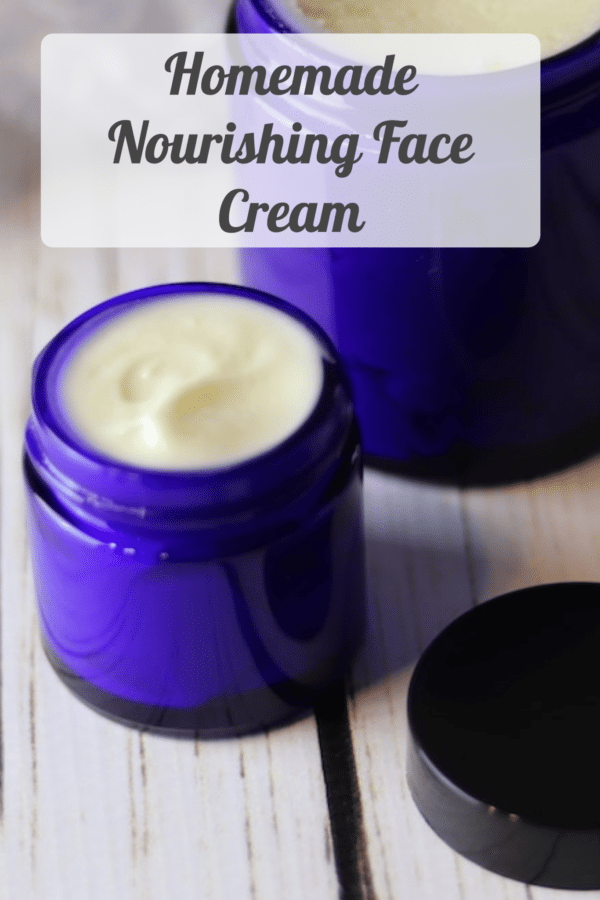
How to make Homemade Nourishing Face Cream:
Use this recipe as a template. You can use it to make a light day cream or a heavier night cream just by changing the oils. Here is a a list of carrier oils by skin type. If you are unsure whether you want to try making a day cream or night cream first, I would suggest that you start with a day cream and make a simple face serum to apply at night underneath it.
This recipe doubles well if you would like to make some for friends or family as gifts. You can also halve it if you want to make smaller batches and experiment with different oil combos.
To make a homemade nourishing face cream, you will need:
- Stick blender (or food processor or regular blender)
- Glass jars (recycled or purchased. I use these.)
- 3/4 cup oil (6 oz) See below for my favorite combinations.
- 1/4 cup (2 oz) Shea butter , cocoa butter, or coconut oil
- 1 tablespoon organic beeswax pellets
- 1/4 cup organic aloe
- 3/4 cup distilled water
- 1/2 to 1 teaspoon of an essential oil blend for skin of choice (my favorites are Soft Skin by Rocky Mountain Oils, or Anti-Age by Plant Therapy)
Directions for homemade nourishing face Cream:
- It is important to avoid contamination. Be sure to use clean bowls, pots, and utensils and to sterilize your jars.
- First, melt your Shea butter and beeswax in your oils over LOW heat in a non-reactive pan or double boiler.
- Let the mixture cool until almost room temperature. The oils emulsify best when all of the ingredients are the same temperature.
- Next, add your aloe, distilled water, and essential oils.
- Finally, use your stick blender to mix until you reach the desired consistency. (It is much easier and less wasteful to do this with a stick blender, but you could use a food processor or a regular blender if you don’t have one.)
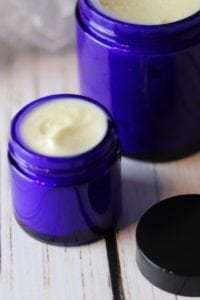
- Store in an airtight sterilized glass container in the refrigerator for up to 3 months. (I use these.)
My favorite combination for a rich night or winter cream:
- 1/4 cup (2 oz.) Organic Grapeseed oil
- 1/4 cup (2 oz.) Organic Apricot Kernel oil
- 2 Tablespoons (1 oz.) Organic Evening Primrose oil
- 2 Tablespoons (1 oz.) Organic Rosehip seed oil
- 1/4 cup (2 oz.) of Shea butter
- 1 tablespoon (1/2 oz.) Organic Beeswax pellets
- 1/4 cup (2 oz) organic aloe
- 3/4 cup (6 oz.) distilled water
- 1/2-1 teaspoon of Anti-age by Plant Therapy
My favorite combination for a day cream:
- 1/2 cup (4 oz.) Organic Grapeseed oil
- 1/2 cup (4 oz.) Organic Almond, Hemp, or Jojoba oils
- 1 tablespoon (1/2 oz.) Organic Beeswax pellets
- 1/4 cup (2 oz.) organic aloe
- 3/4 cup (6 oz.) distilled water
- 1/2-1 teaspoon of Soft Skin by Rocky Mountain Oils
Go here for a breakdown of oil by the skin type it is best suited for.
A note on storing your Homemade Nourishing Face Cream:
I now keep my face cream in the refrigerator. In the many homemade beauty product books and DIY beauty product blog posts I have read over the years, there is very conflicting information about the storage of homemade beauty products. Some say you can store them in a cool, dark place for up to a year. Some say only a few months in the fridge. Some don’t mention storage instructions at all! I am erring on the side of caution here. This cream has essential oils that have antimicrobial properties as well as the preservatives that happen to be in the organic aloe. These things will help keep your cream safe, but since I am not positive to what degree, let’s just say to store it in the fridge. I realize that might be a bit annoying.
Upcoming Posts on Preserving your homemade Creations:
I am doing research on a good natural preservative to extend the life of homemade creams and lotions and will do a post with my findings. I am also going to carry out some experiments with a microbial kit to see what, if any, unseen microbes start to grow in unrefrigerated homemade creams and will also post about that as well.
**After carrying out my experiment with the microbe kit, I can definitely say it is safest to use a natural preservative AND refrigerate your homemade face products! I took pictures, but they are so disgusting that I don’t even want to post them! The natural preservative that I settled on is called Leucidal Liquid. It is derived from radishes. The lotions and creams with just the Leucidal Liquid (unrefrigerated) lasted 3 months safely. So, you could make small batches and not refrigerate it. I would mark the date on it so you know when to finish it by. When the Leucidal liquid was combined with refrigeration, the lotions and creams lasted over 6 months. All of the lotions looked and smelled perfect, by the way. So, you can’t rely on your senses to tell you if it is crawling with microbes! Updated 10/31/19


Nourishing Face Lotion
Ingredients
- Stick blender or food processor or regular blender
- Sterilized glass jars recycled or purchased
- 3/4 cup oil 6 oz My favorite combination is Grape seed, Apricot Kernel, Evening Primrose, and Rose Hip, but the possibilities are endless.
- 1/4 cup 2 oz Shea butter (could sub coco butter or coconut oil)
- 1 tablespoons beeswax pellets
- 1/4 cup organic aloe
- 3/4 cup distilled water
- 1/2 -1 teaspoon essential oils of choice my favorites skin blends are Soft Skin by Rocky Mountain Oils, Anti-Age by Plant Therapy
Instructions
- First, melt your shea butter and beeswax in your oils over LOW heat.
- Let the mixture cool until almost room temperature. The recipe works best when all ingredients are the same temperature.
- Add your aloe, distilled water, and essential oils.
- Finally, use your stick blender to mix until you reach the desired consistency. (It is much easier to do this with a stick blender, but you could use a food processor or a regular blender if you don't have one.)
- Store in a sterilized airtight glass container and store in the refrigerator.


