
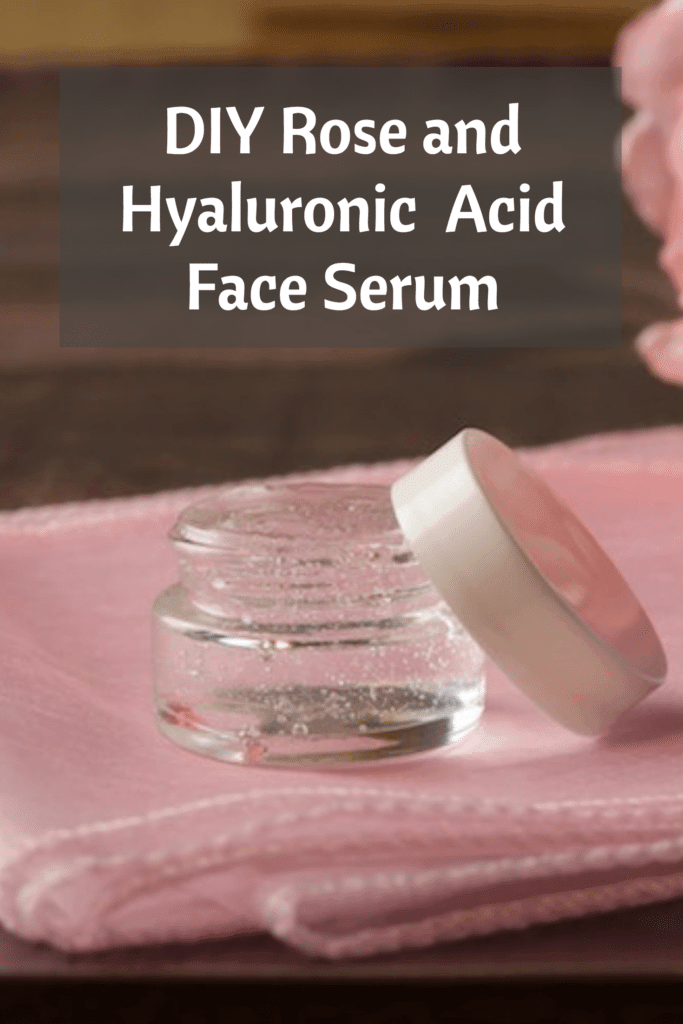
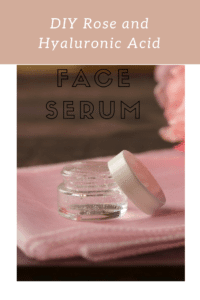
This DIY Rose and Hyaluronic Face Serum is my new favorite, favorite thing! My skin loves this serum. It makes me wonder why I haven’t made a hyaluronic acid face serum before. Actually, I know why. The first time I tried a hyaluronic face serum, I didn’t like it! Back in my 20’s, my first career was as an esthetician, and I went up to Vancouver, Canada for a skincare convention. While I was there, I got loaded down with all sorts of fun samples. One of them was a hyaluronic face serum. I was so excited to try it because there was a lot of buzz surrounding it. I got back to the hotel and put it on after I cleansed my face that night. At this time, I had young, supple 20-something skin (which, of course, I didn’t fully appreciate), but the next day, my skin was so dry! My conclusion was that my skin didn’t like hyaluronic acid serums and that was that. I never tried them again–that is until a few weeks ago when I started playing around with recipes for them. What made me change my mind? Read on, my friend.
Why Do I love using a hyaluronic acid face serum?
I changed my mind about hyaluronic acid serums when realized that the problem had been my application. You see, when I was in Canada, it was cold and very dry. Hyaluronic acid can absorb over 1000 times its weight in water, but if there is no moisture in the air to steal it from, the next fill up station is the skin that it has been applied to. Since there was no moisture in the air, and I had dried my face off before applying the serum, the serum stole moisture from my face! Ahhh! The crucial step I missed was making sure to apply the serum to a damp face! This gives the hyaluronic face serum plenty of moisture to do what it does best– plump and hydrate your skin. Where I live, the Northwest, it is usually fairly damp. Even still, I always spray my face with my rose hydrosol before I apply my hyaluronic face serum, just for extra insurance.
What is Hyaluronic Acid?
Hyaluronic acid is actually a substance made by our bodies such as collagen and elastin. It gives skin that soft supple, dewy look that babies have. In fact, your body made the most hyaluronic acid that it will ever make when you were a baby. As you age, your body produces less and less of this wonderful substance. Bummer, huh!? Well, no fear because now you have an easy DIY hyaluronic face serum to give you that baby face back. Please allow me break down the amazing benefits of this serum for you.
Hyaluronic Acid Face Serum:
- boosts elasticity
- intensively hydrates skin
- creates a look of fullness (firms and tones)
- is a humectant which can hold over 1000 times its weight in water
protects agains harmful UVB rays - able to penetrate the epidermis (the upper layer of skin)
- Keeps collagen synthesis up
- supports healing of the skin
- contains antioxidants
- diminishes wrinkles
- protects your skin with a protective barrier
Benefits of Rose Hydrosol:
If you have been reading my blog, you probably know that I am a huge fan of rose (both rose essential oil and rose hydrosol) for skin. It is extremely hydrating and nourishing which is why it stars in both this serum and my marshmallow rose face mask. Rose has anti-inflammatory properties that can soothe angry skin and calm down redness. It is gentle enough that it can even be used on eczema and rosacea. Rose water helps maintain the ph balance of your skin. It is also antibacterial, smells amazing, and can lift your mood immediately. With all this said, if rose is not your thing, you can use another hydrosol such as Neroli (Orange Blossom) which is also very beneficial to the skin. Or, just use distilled water. Be sure not to use tap water, even filtered. It can introduce harmful microbes into your serum, shortening the shelf (or fridge) life.
Benefits of Glycerine (aka glycerol):
- it also a humectant which draws water to itself, maintaining moisture balance in the skin and keeping it hydrated
- can diminish the appearance of fine lines and wrinkles by smoothing and filling them in
- nourishing to the skin
- supports healing in the skin
- protects the skin
- great hydrator for all skin types, even oily skin
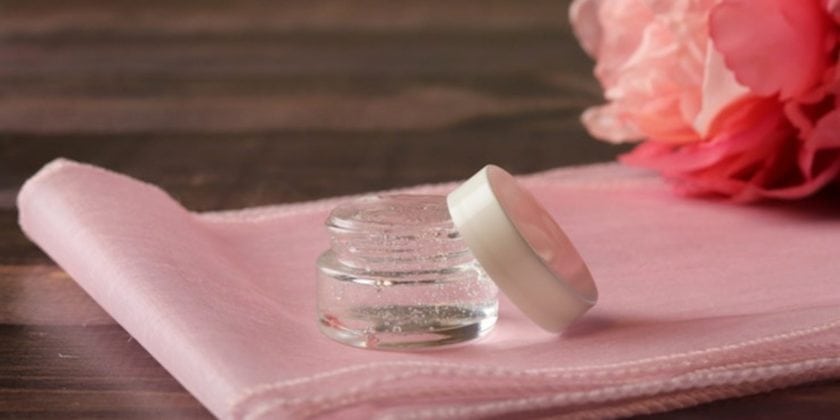
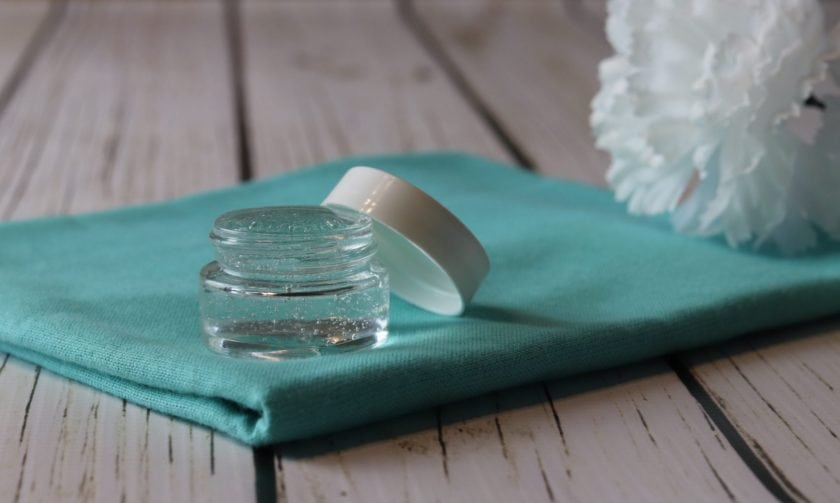
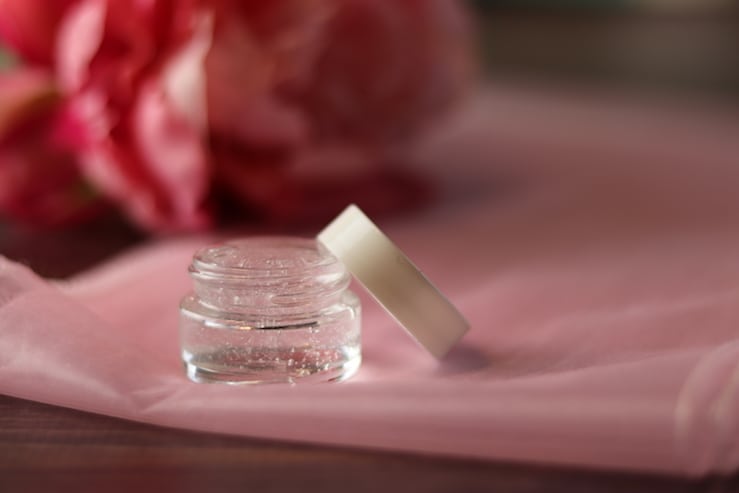
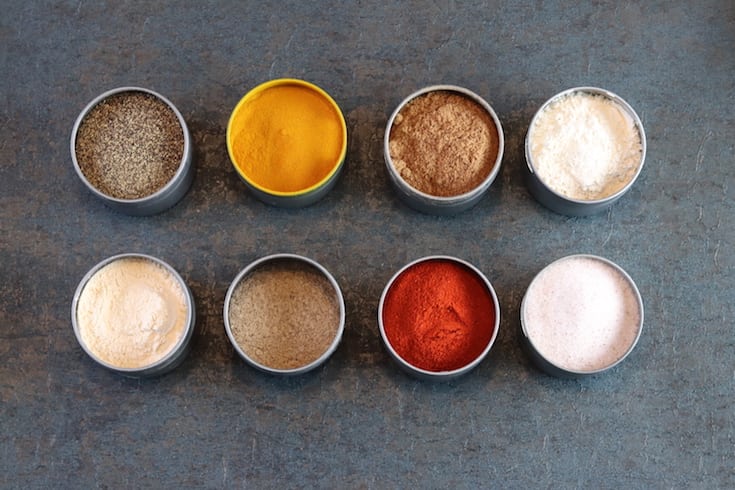
How to make your own Rose and Hyaluronic Acid Face Serum:
- 1/2 cup Rose hydrosol (or Neroli hydrosol, or plain distilled water)
- 1 teaspoon High molecular weight hyaluronic acid powder (this is the one I chose)
- 1/2 teaspoon glycerine, non-gmo and food grade
- Optional: 2 drops rose essential oil (or other skin friendly essential oil or blend) See note below.
- Optional: 1/2 teapoon Leucidal liquid (a radish-derived preservative)
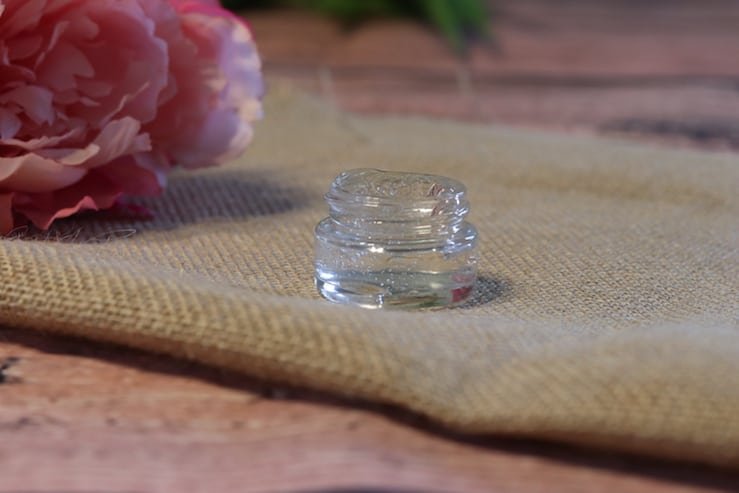
- sterilized air-tight glass container for storage, recycled or purchased
Directions for DIY Rose and Hyaluronic Face Serum:
- Mix this up at least 4 hours before you want to use it. It needs time to absorb fully first.
- First, put your hyaluronic powder in your sterilized glass jar.
- Next, add the hydrosol (or distilled water–do not use filtered tap water–it may introduce harmful microbes to your serum). Put the lid on and give it a good shake.
- Then, remove the lid, and add the glycerine and Luecidal Liquid preservative if using). If you aren’t using the preservative, it is a good idea to just make a half batch to make sure you use it all up within a few weeks. Also be sure to refrigerate your serum if not using a preservative. If you do use the preservative, you can store your serum for a few months at room temperature (even longer in the fridge).
- Put the lid on the jar and shake, shake, shake. The mixture will be lumpy with pockets of powder. Do not fear! It will fully absorb.
- Finally, refrigerate your serum while you wait for it to fully hydrate-about 4 hours.
Note: I do not use essential oils in my hyaluronic acid face serum because I love using it as an eye cream! My eyes are very sensitive (as I believe are most people’s), so I would only add essential oils if I knew that there were something else I wanted to use around my eyes. Your serum will already smell fantastic because of the hydrosol (and it will contain the benefits of the rose water.)
How to use your Rose and Hyaluronic Acid Face Serum:
- First, after waiting 4 hours or overnight, apply a small amount of your serum to your damp face after you have cleansed. My favorite way of making sure my face is damp is to spray it with rose hydrosol, but you could use another hydrosol or just don’t dry your face after you wash it.
- Next, let your serum fully absorb.
- Finally, apply your face cream. If you did not use the preservative, keep your serum in the fridge. It actually feels really refreshing on your face cold from the fridge in the morning!
Have you ever used a hyaluronic face serum? What did you think? Will you try making your own? I’d love your comments and questions!!
DIY Rose and Hyaluronic Acid Face Serum
Ingredients
- 1/2 cup Rose hydrosol this is my favorite (or other hydrosol, or plain distilled water)
- 1 teaspoon High molecular weight hyaluronic acid powder this is the one I chose
- 1/2 teaspoon glycerine non-gmo and food grade
- Optional: 2 drops rose essential oil or other skin friendly essential oil or blend See note below.
- Optional: 1/2 teapoon Leucidal liquid a radish-derived preservative
- sterilized air-tight glass container for storage recycled or purchased (I use these)
- hyaluronic acid
Instructions
- Mix this up at least 4 hours before you want to use it. It needs time to absorb fully first.
- First, put your hyaluronic powder in your sterilized glass jar.
- Next, add the hydrosol (or distilled water--do not use filtered tap water--it may introduce harmful microbes to your serum). Put the lid on and give it a good shake.
- Then, remove the lid, and add the glycerine and Luecidal Liquid preservative if using). If you aren't using the preservative, it is a good idea to just make a half batch to make sure you use it all up within a few weeks. Also be sure to refrigerate your serum if not using a preservative. If you do use the preservative, you can store your serum for a few months at room temperature (even longer in the fridge).
- Put the lid on the jar and shake, shake, shake. The mixture will be lumpy with pockets of powder. Do not fear! It will fully absorb.
- Finally, refrigerate your serum while you wait for it to fully hydrate-about 4 hours.


