
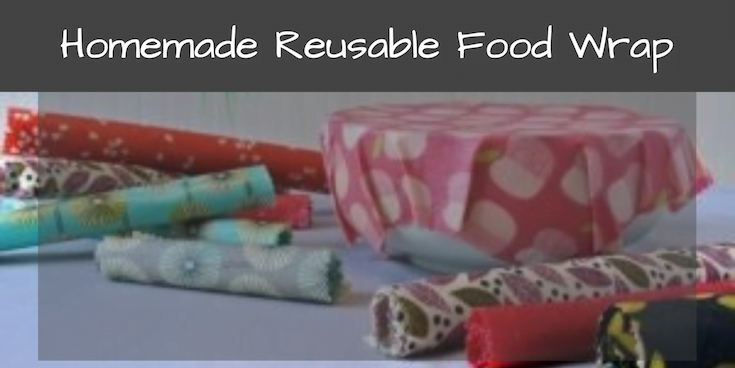
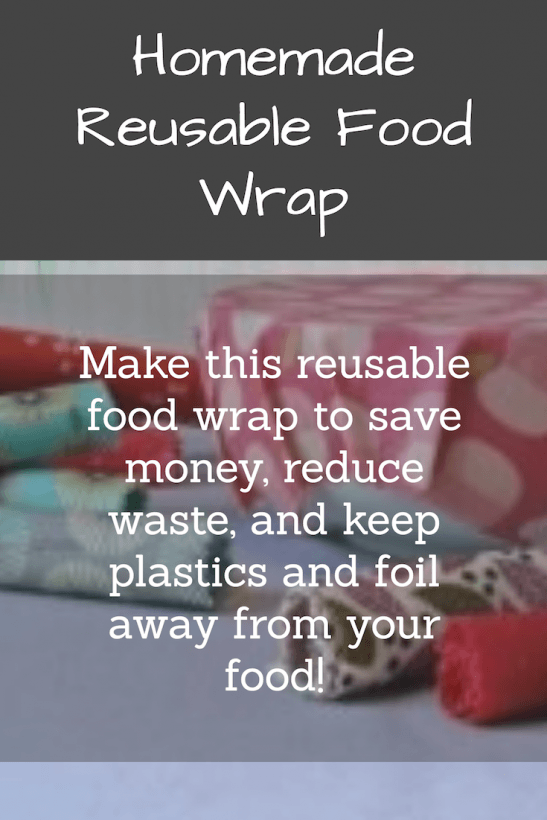
Making this non-plastic reusable food wrap seems like a fabulous idea to me on so many levels. First, there is the benefit to the environment. Second, you cut down on the amount of plastic that comes into contact with your food. Third, you can cut down on the amount of plastic wrap you buy. Fourth and probably most important, you get to pick out pretty fabric to make it out of. What’s to lose?
Should I just buy Reusable food wrap?
If you don’t have the time or desire to make your own reusable food wrap, there is a very popular one on the market called Bees Wrap. It is made with organic cotton, organic beeswax, pine rosin gum and Jojoba oil and uses the heat of your hands to mold to your container. It is awesome, but it is a bit pricey. You get just three pieces for about $19. When you think of how much food wrap you could make for that, and what cute fabric you could choose, why not?
Once I decided that I wanted to make my own reusable food wrap, I scoured the internet looking for a good tutorial on making my own reusable food wrap. There are MANY tutorials! Most only use beeswax, however. The problem with this method is that the wrap doesn’t cling to your container and must be fastened with a rubber band or string. I want my wrap to be easy to use and to be pretty to look at. No rubber bands! The best tutorial I found online was from one of my favorite bloggers, Mommypotamus. She uses the same ingredients as Bees Wrap uses in her tutorial, so that fact combined with the fact that everything she posts on her site is awesome, I tried hers out. My needs were a bit different then hers, however, so I tweaked her method to suit my needs. I was very happy with the results, and I think you will be too.
A couple of things to keep in mind before you make your food wrap:
1. You want organic ingredients because this will be touching your food. Even the cotton should be organic. “But can’t I just wash regular cotton a bunch to get the pesticides out?” This is a valid question. I wondered the same and researched it. First, cotton is one of the most heavily sprayed crops. Second, it is not just the fabric, but also the dyes that contain harmful chemicals. So, it’s your choice, of course, but I opted for organic. I found a large variety of Cloud 9 on Amazon and at Joanne’s Fabrics, both in-store and online.
2.The original tutorial from Mommypotomus gives specific amounts of ingredients for certain sizes of food wrap. I wanted many different shapes and sizes of fabric because I was not only making these for myself, but also friends and family. Although I have taught math in the past, it still is not one of my favorite subjects. I didn’t want to do the calculations for each separate size and shape, so I created a work around. I actually did it two different ways. Both are listed below and both worked equally well. I prefer method 2, but it uses a couple more supplies to get the job done. Choose whatever seems easiest to you.
3. Because this wrap is cared for care for with warm water and mild soap, you won’t want to wrap a hunk of raw meat in it. It is excellent for most other food uses though!
What you will need:
- Organic Beeswax (I used pellets)
- Pine Rosin Gum
- Organic Jojoba Oil
- Organic cotton fabric
- Scissors (preferably pinking shears to avoid fraying)
- Unused paintbrush
- Parchment paper
- Somewhere to dry your food wrap
- It is helpful, but not necessary to have a Mister Misto Sprayer for method 2.
To begin you should wash and dry your fabric. You will want to iron and cut it as well. Once you have your fabric prepped, cover your baking sheets with parchment. Preheat your oven to 225 degrees Fahrenheit and lay out your first piece of fabric on your baking sheet.
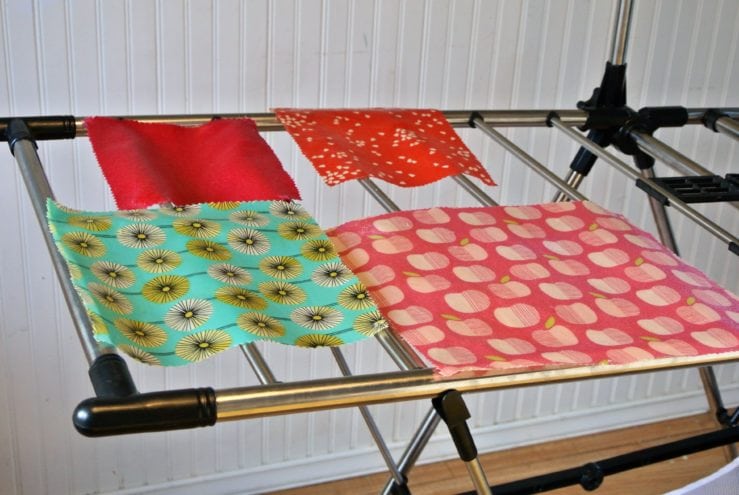
Method 1: In a bowl that you do not love (it might get ruined from the pine rosin), mix your bees wax pellets, (or shavings if you grated a bar) pine rosin, and Jojoba oil. For my first round, I used 1/4 cup beeswax pellets, 1/4 cup pine rosin gum, and 3 tablespoons + 1 teaspoon jojoba oil. (I ended up doing a few more rounds because I did a ton of these for Christmas gifts.) Spread this mixture over your fabric. Be sure to get the edges! Pop your baking try into the oven. Melting everything well took about 10 minutes in my oven, but for the first few, keep checking on them from time to time to see how they are doing. Once everything has melted, take your tray out of the oven and use the paint brush to spread it all around. Again, get those edges! Pop your tray back into the oven for another minute or two. Next, pull your tray out of the oven. Use tongs to lift your wrap from the baking sheet and set on a drying rack, a clothes line, or even a towel rack to dry. It only takes a few minutes. Repeat to make as many sheets of reusable food wrap as you like!
Method 2: This method uses a spray bottle and a shaker. I used the Mister Misto, but you could reuse an old spray bottle. For the shaker, I used a kitchen shaker that I have for powdered sugar. If you don’t have one, take a jar and put foil on the lid. Then poke holes in the foil with a scewer or safely pin. This works as a great shaker! Once you have your prepped fabric on your parchment lined baking tray, spray your fabric with the Jojoba oil. Make sure you get the corners! The Jojoba oil keeps the wrap flexible, so you don’t want to miss the edges. Next, use your fingers to sprinkle the bees wax over your fabric, being sure to get it into the corners. Then, use your shaker of pine rosin gum to shake a nice layer all over the fabric. See photo. Next, pop your baking try into the oven. Melting everything well took about 10 minutes in my oven, but for the first few, keep checking on them from time to time to see how they are doing. Once everything has melted, take your tray out of the oven and use the paint brush to spread it all around. Again, get those edges! Pop your tray back into the oven for another minute or two. Next, pull your tray out of the oven. Use tongs to lift your wrap from the baking sheet and set on a drying rack, a clothes line, or even a towel rack to dry. It only takes a few minutes. Now you are ready to make as many sheets of reusable food wrap as you like!
So, what do you think? Are you going to try it? If you do, let me know how it goes!


")

")


")

")
